Optical analysis of Trabecular structures

Rapid prototyping, known as 3D printing or Additive Manufacturing, is a process that allows the creation of 3D objects by depositing material layer by layer. The materials used vary: plastic polymers, metals, ceramics or glass, depending on the principle used by the machine for prototyping, such as the deposit of the molten material or the welding of dust particles of the material itself by means of high-power lasersThis technique allows the creation of particular objects of extreme complexity including the so-called “trabecular structures“, structures that have very advantageous mechanical and physical properties (Fig. 1). They are in fact lightweight structures and at the same time very resistant and these characteristics have led them, in recent years, to be increasingly studied and used in application areas such as biomedical and automotive research fields.

Despite the high flexibility of prototyping machines, the complexity of these structures often generates differences between the designed structure and the final result of 3D printing. It is therefore necessary to design and build measuring benches that can detect such differences. The study of these differences is the subject of a Progetto di Ricerca di Interesse Nazionale (PRIN Prot. 2015BNWJZT), which provides a multi-competence and multidisciplinary approach, through the collaboration of various universities: the University of Brescia, the University of Perugia, the Polytechnic University of Marche and the University of Messina

The aim of this thesis was to study the possible measurement set-ups involving both 2D and 3D vision. The solutions identified for the superficial dimensioning of the prototyped object (shown in Fig. 2) are:

  1. a 3D measurement set-up with a light profile sensor;
  2. a 2D measurement set-up with cameras, telecentric optics and collimated backlight.

In addition, a dimensional survey of the internal structure of the object was carried out thanks to to a tomographic scan of the structure made by a selected company.

Fig. 1 - Example of a Trabecular Structure.
Fig. 2 - The prototyped object studied in this thesis.

The 3D measurment set-up

The experimental set-up created involved a light profile sensor WENGLOR MLWL132. The object has been mounted on a micrometric slide to better perform the acquisitions (Fig. 3).
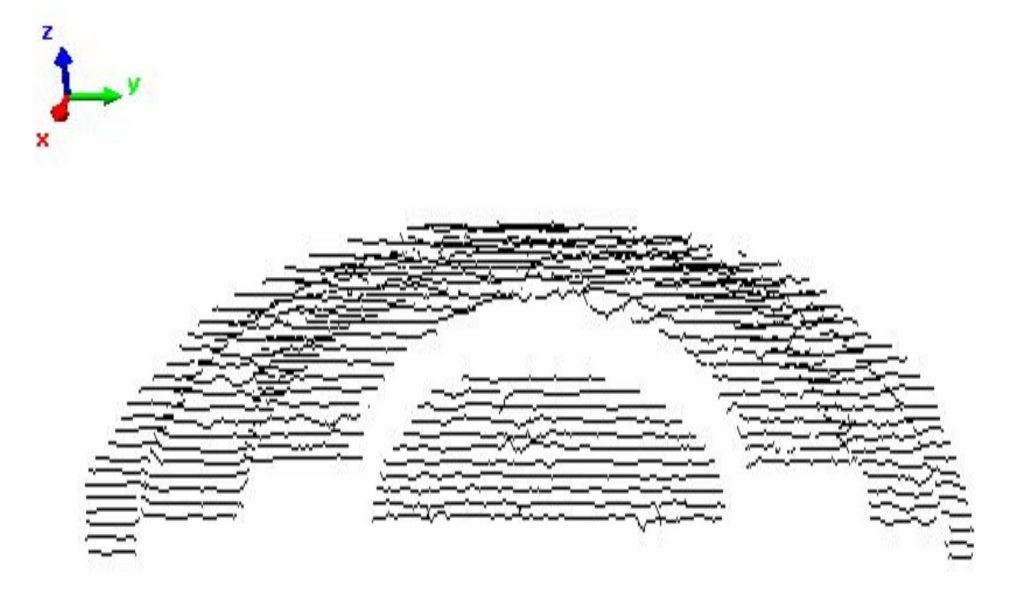
The point cloud is acquired by the sensor using a custom made LabView software. The whole object is scanned and the point cloud is then analyzed by using PolyWorks. Fig. 4 shows an example of acquisition, while Fig. 5 shows the errors between the point cloud obtained and the CAD model of the object.
Fig. 3 - 3D experimental set-up.
Fig. 4 - Example of acquisition using the light profile sensor.
Fig. 5 - Errors between the measured point cloud and the CAD model.

The 2D measurment set-up

The experimental set-up involving telecentric lenses is shown in Fig. 6. Telecentric lenses are fundamental to avoid camera distorsion especially when high resolution for low dimension measurments are required. The camera used is a iDS UI-1460SE, the telecentric lenses are an OPTO-ENGINEERING TC23036 and finally the retro-illuminator is an OPTO-ENGINEERING LTCLHP036-R (red light). In this set-up a spot was also dedicated to the calibration master required for the calibration of the camera.
The acquisitions obtained have some differences according to the use of the the retro-illuminator. Fig. 7, 8 and 9 show some examples of the acquisitions conducted.
Finally, the measured object was then compared to the tomography obtained from a selected company, resulting in the error map in Fig. 10.


Fig. 6 - 2D experimental set-up.
Fig. 10 - Error map obtained comparing the measured object to the tomography.

If you are interested in the project and want to read more about the procedure carried out in this thesis work, as well as the resulting measurments, download the presentation below.

The Lab at EMVA 2018

The Laboratory staff and the Students currently involved in Thesis Projects with us participated at the 2018 European Machine Vision Forum held in Bologna from the 5th to the 7th of September 2018. The theme of this edition was “Vision for Industry 4.0 and beyond“.

Below you can find the two posters that have been presented at the conference.

A depth-from-defocus (DFD) measurement system using a liquid lens objective for extended depth range

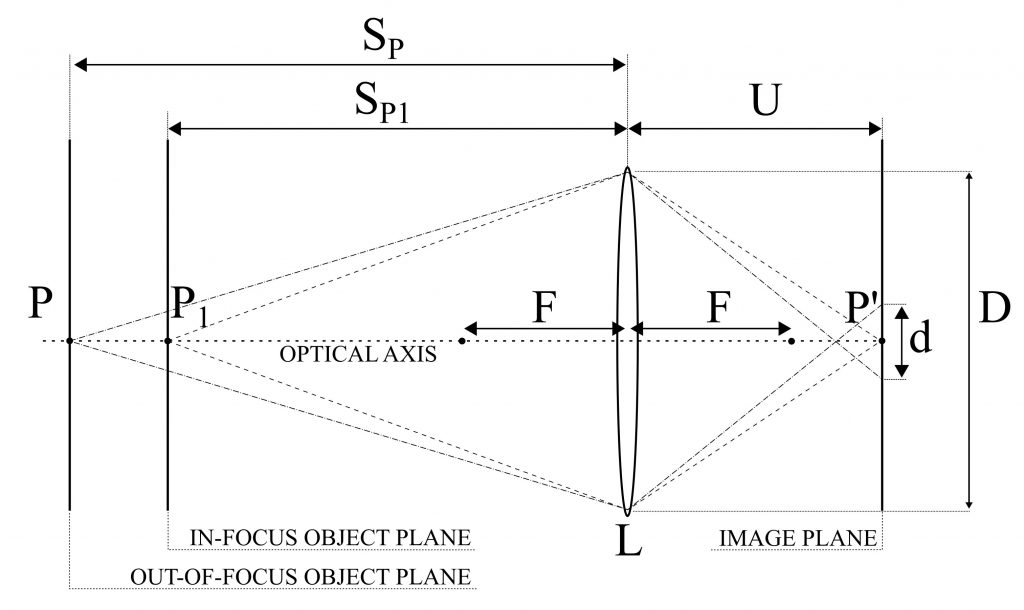
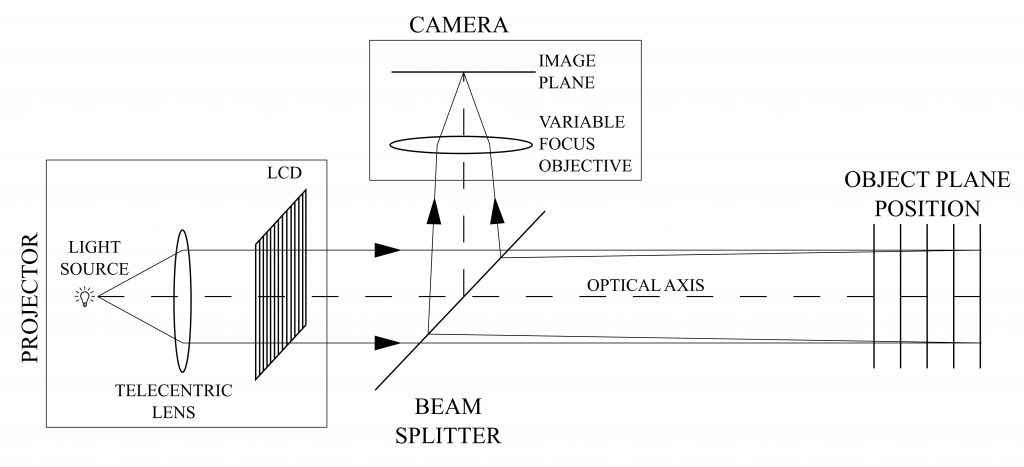
A novel Depth From Defocus (DFD) measurement system is has been developed. Here the extension of the measurement range is performed using an emergent technology based on liquid lenses. A suitable set of different focal lengths, obtained by properly changing the liquid lens supply voltage, provides multiple camera settings without duplicating the system elements or using moving parts.

A simple and compact setup, with a single camera/illuminator coaxial assembly is obtained. The measurement is based on an active DFD technique using modulation measurement profilometry(MMP) for the estimation of the contrast at each image point as a function of the depth range.

A suitable combination of multiple contrast curves, each one derived at a specific focal length, is proposed to extend the measurement range and to improve the measurement performances with respect to the state of the art.

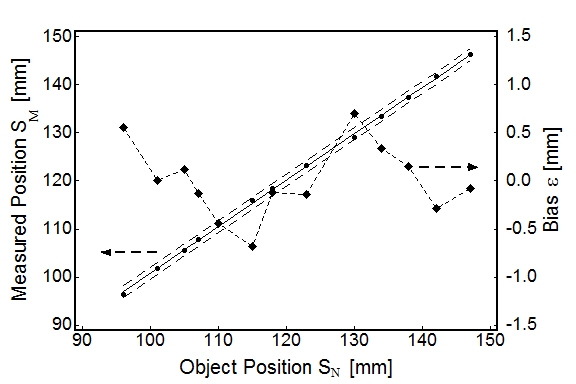
The system measurement errors are 0.53 mm over an extended measurement depth range of 135 mm, corresponding to 0.39 % of the depth range, resulting in an improved performance with respect to the state of the art DFD systems, for which typical values are in the 0.7-1.6 % of the depth range.

Related publications

Pasinetti, S.; Bodini, I.; Lancini, M.; Docchio, F.; Sansoni, G. “A Depth From Defocus Measurement System Using a Liquid Lens Objective for Extended Depth Range“, IEEE Transactions on Instrumentation and Measurement, Vol 66, no. 3, pp. 441-450. 2017

Student Projects 2014-2015

The article presents a list of projects developed for the course of 2D Vision Systems during the year 2014-2015.

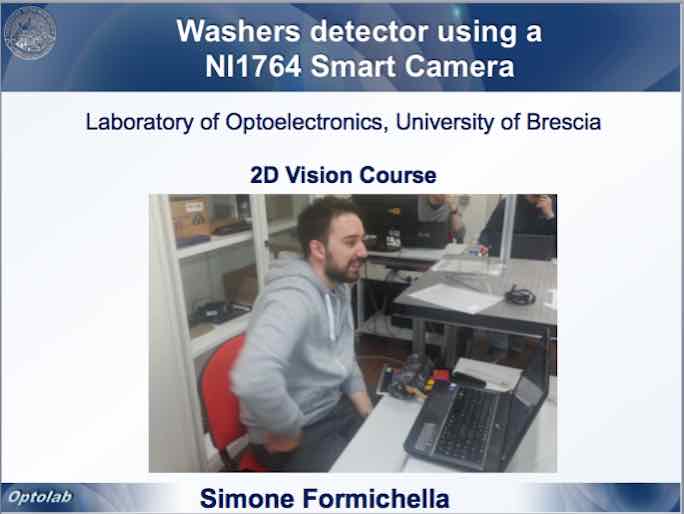
The first project was developed by Simone Formichella, with the aim of developing a small vision system to detect objects on a rotating table using a NI1764 smart camera.

One of the problems the student faced was how to detect reflective objects with optical sensors and how to deal with the transparency of the rotating plate. Moreover, the smart camera was able to perform only lightweight elaborations, so the system had to be splitted between camera and the host PC, which was able to perform the more computational heavy processing required. The whole system was developed using LabView.

The second project was developed by Alessandro Nastro, with the aim of using a very low cost projector to project fringes for 3D reconstruction. 

The student created a triangulation system with two Basler Scout scA1390 cameras and a low cost projector (Philips PicoPix PPX22505). The student dealt with the camera 2D calibration performed by a custom made VI developed in LabView in order to correctly detect the fringes projected on the image and retrieve the period between them. In this way it is possibile to perform a 3D reconstruction of an object!

The third project was developed by Pietro Craighero with the aim of measuring the inner and the outer radius of a mechanical object using telecentric lenses.

Telecentric lenses allow users to obtain images with high contrast with almost no image distorsion, thus being a fundamental piece of any high accuracy vision system. The student created a small set-up with a red-light laser and a telecentric camera, used to acquire 2D images of the object to be measured. The software used for the project was developed in LabView.

Real time acquisition of silhouettes

The aim of this project is to design, implement and charaterise a vision system for the 3D reconstruction of objects rotating with respect to their axis by means of the Silhouette method. The system has been developed using LabView Real-Time 8.6.1 (National Instruments, NI).

 The hardware of the system is composed by the NI Embedded Vision System (EVS), the  Basler Scout scA1390-17gm/gc Gigabit Ethernet camera, and a telecentric lighting system combined with a telecentric optics (Optoengineering, Italy). The software tools dedicated to image acquisition and elaboration have been developed by using the NI-IMAQ vision libraies. The vision system is called  ‘OPTOSILHO‘.