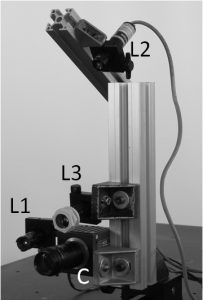
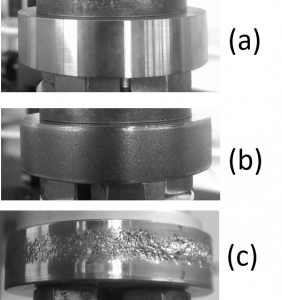
Rolling contact wear/fatigue tests on wheel/rail specimens are important to produce wheels and rails of new materials for improved lifetime and performance, able to work in harsh environments and at high rolling speeds. We have developed a novel non-invasive, all-optical system, based on a high-speed video camera and multiple laser illumination sources, which is able to continuously monitor the dynamics of the specimens used to test wheel and rail materials, in a Laboratory test bench.
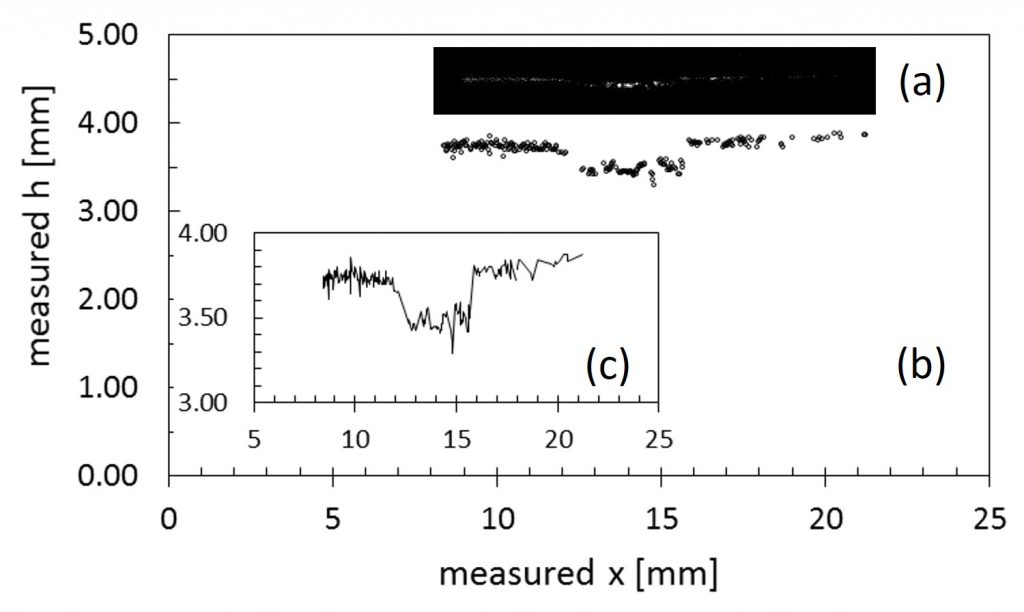
3D macro-topgraphy and angular position of the specimen are simultaneously performed, together with the acquisition of surface micro-topography, at speeds up to 500 rpm, making use of a fast camera and image processing algorithms. Synthetic indexes for surface micro-topography classification are defined, the 3D macro-topography is measured with a standard uncertainty down to 0.019 mm, and the angular position is measured on a purposely developed analog encoder with a standard uncertainty of 2.9°. The operate with very small camera exposure time enables to obtain blur-free images with excellent definition. The system will be described with the aid of end-cycle specimens, as well as of in-test specimens.
Related Publications
Bodini, I.; Sansoni, G.; Lancini, M.; Pasinetti, S.; Docchio, F. “A novel optical apparatus for the study of rolling contact wear/fatigue based on a high-speed camera and multiple-source laser illumination“, Review of Scientific Instruments, Vol 87. 2016
Bodini, I.; Sansoni, G.; Lancini, M., Pasinetti, S.; Docchio, F. “Feasibility study of a vision system for on-line monitoring of rolling contact fatigue tests“, Journal of Physiscs: Conference Series, Vol 778. 2017
Bodini, I.; Petrogalli, C.; Mazzù, A.; Faccoli, M.; Lancini, M.; Pasinetti, S.; Sansoni, G.; Docchio, F. “On-line 2D monitoring of rolling contact fatigue/wear phenomena in dry tests“, Journal of Physics: Conference Series, Vol. 882. 2017


