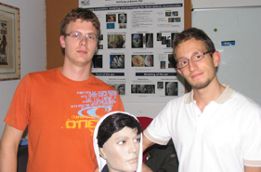
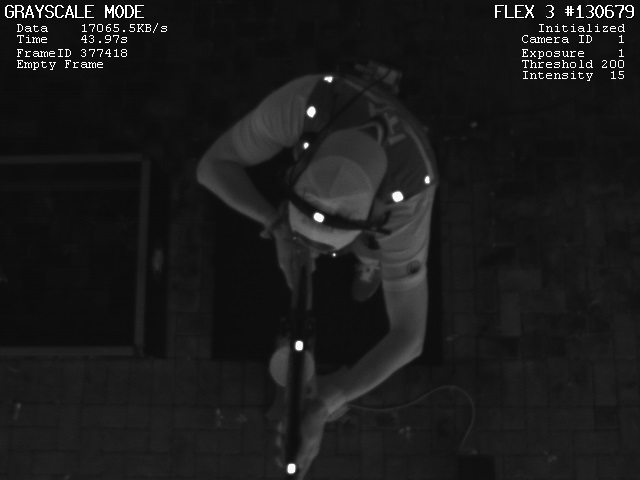
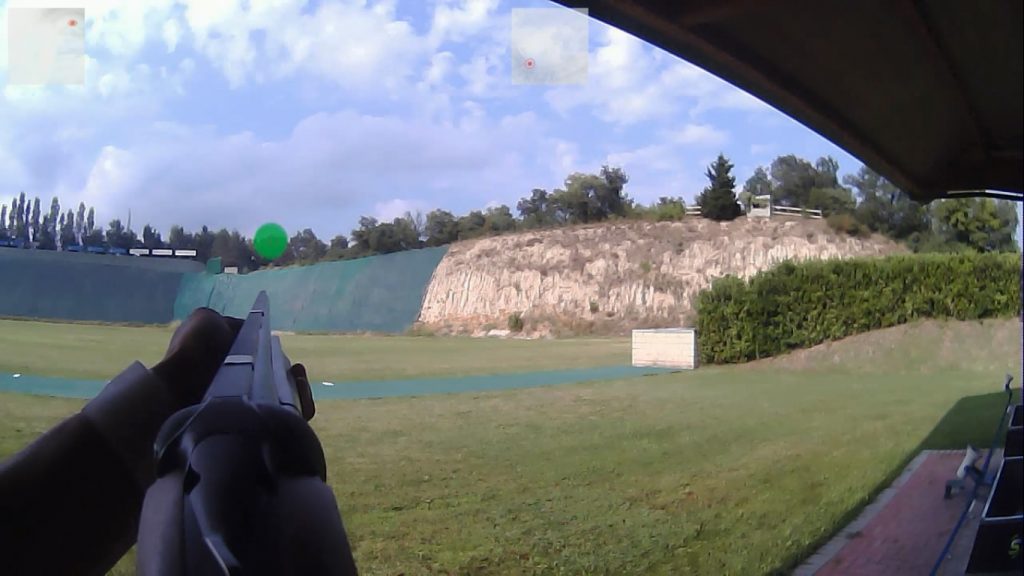
This article reports the projects developed by students in the area of the development and validation of 2D vision systems. The projects are carried out by undergraduated students, for their graduation (I level) or by graduated students, during the attendance of the courses of Optical Measurements and of Electronic Instrumentation B.
The following project has been developed by Thomas Plabani, in 2007-2008.
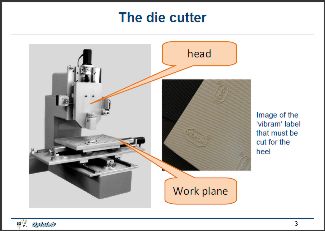
The aim was to study a Pattern Matching software for a 2D vision system to be assembled on an automatic die cutter. Time and precision constraints were rather demanding.
Download the presentation to have an insight of how the problem has been solved!
The project below has been developed by Matteo Frassine and Stefano Pesce, during the course of Electronic instrumentation, year 2008-2009.
They had to detect the features of the plug in the figure: diameter of the plug and number of the small metallic spheres of the wire.
This project has been developed by Daniele Mazzotti and Diego Rossini, during the course of Electronic instrumentation, year 2008-2009.
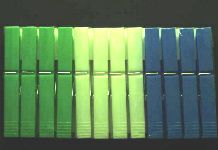
They had to detect the features of the clothes peg shown in the figure below. They had to count the pegs in the package, detect the absence of one or more pegs, detect misalignment of them, control the color sequence.
The project below has been developed by Andrea Cadei and Manuel Zenato, during the course of Electronic instrumentation, year 2008-2009.
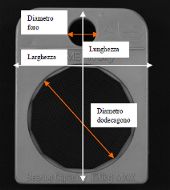
They had to detect the features of the soapdish shown in the figure. The difficulty in this case was to perform the measurement of a transparent object. Suitable illumination and image processing have been used.
This project has been developed by Aurel Fonta, during the course of Electronic instrumentation, year 2008-2009.
The objective was to measure the object geometry, to ‘read’ the brand label, and to read the bar code.
They had to control the integrity of the comb shown below, to count the comb teeth and to measure its dimension.

