This activity deals with the development of instrumentation and measurement procedures for 3D macro and micro profilometry. The application fields span from industrial quality control to contactless digitization of free form surfaces for reverse engineering.
This section presents the most important results obtained by the Laboratory in collaboration with industrial partners and with other academic partners, in the frame of italian research projects.
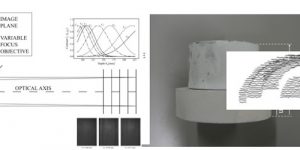
A depth-from-defocus (DFD) measurement system using a liquid lens objective for extended depth range
A novel Depth From Defocus (DFD) measurement system is has been developed. Here the extension of the measurement range is …
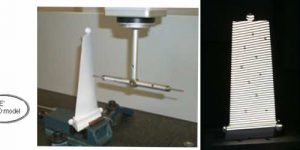
Combined use of Optical and Contact probes
This activity was carried out in the frame of a collaboration between our Laboratory and the DIMEG Metrological Laboratory of the …
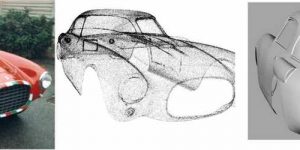
Automotive applications: Reverse engineering of a Ferrari MM
This project was performed to demonstrate the feasibility of using an optical 3d range sensor based on fringe projection (OPL-3D) …
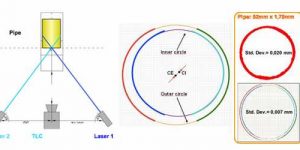
3D vision for the measurement of eccentricity of pipes
The aim of this project has been to design, to implement and to characterize a system for the 3D measurement …
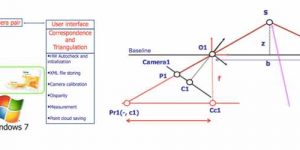
ChamaleonEyes
This project deals with the design, the development and the characterization of a vision system based on passive stereo vision, …
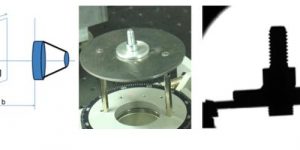
Real time acquisition of silhouettes
The aim of this project is to design, implement and charaterise a vision system for the 3D reconstruction of objects …
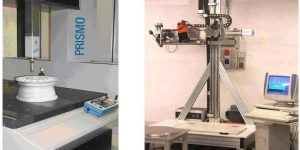
To learn more on the combined use of CMMs with optical probes
The 3D Vision system used during the experimentation was the prototype 3D-Optolab, and the CMM was the Zeiss Prismo Vast 7D, equipped …
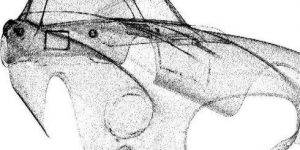
To learn more on 3D Vision applications in the automotive industry
The work performed on the Ferrari presents a number of similarities with respect to the work performed on the Winged …
Copyright © 2025 MMTLab | Powered by Specia WordPress Theme
